
In an era defined by data explosions, the need for reliable storage, absolute privacy, and seamless access to digital assets has never been higher. Relying entirely on mainstream public cloud subscriptions can quickly become expensive, and it constantly exposes you to the risks of data throttling, privacy leaks, or unexpected service changes.
If you have been searching for how to build a home server or looking for the best way to build a server at home, you are in the right place. This ultimate guide will walk you through everything you need to know—from hardware selection and software ecosystems to the most critical and often overlooked step: securing your setup for remote access.
1. Define Your Purpose: Why Are You Building a Home Server?
Before purchasing parts, you need to determine what your server will actually do. Defining your use case ensures you allocate your budget efficiently. The most popular reasons for building a home server include:
First, building a home media server. This allows you to centralize your movies, music, and shows. By running applications like Plex, Jellyfin, or Emby, you can stream 4K content flawlessly to your TV, phone, or tablet anywhere in the house.
Second, creating a Private Cloud. Instead of paying for iCloud or Google Drive, you can build a cloud server at home using Nextcloud or Syncthing. This gives you a massive, subscription-free vault to automatically back up phone photos and sync work files.
Third, Home Automation and Network Services. You can run a dedicated network controller, host a local smart home system like Home Assistant, or set up a network-wide ad blocker like AdGuard Home.
Fourth, Virtualization and Development. For tech enthusiasts and developers, to build a home server for virtualization means you can run a hypervisor like Proxmox VE or ESXi. This allows you to spin up multiple isolated virtual machines or test environments on a single physical machine.
2. Hardware Selection: How to Build a Cheap Home Server
You don’t need to buy expensive, noisy, enterprise-grade rack cabinets to get started. In fact, if you want to build a cheap home server, the best hardware might already be sitting in your closet.
Choosing to build a home media server from an old pc or to build a home server with old computer parts is highly cost-effective. An older Intel Core or AMD processor with integrated graphics and a couple of spare hard drives is more than capable of handling file storage and lightweight docker containers.
If you prefer to assemble a dedicated machine from scratch to build a server pc at home, here is what you need to focus on:
For the CPU, we recommend an Intel Core i3 (12th to 14th Gen) or an Intel N100. Intel CPUs feature Quick Sync Video, which provides incredibly efficient, hardware-accelerated 4K video transcoding while keeping idle power consumption minimal.
For RAM, look for 16GB to 64GB DDR4 or DDR5. Memory is your primary bottleneck if you plan on building a home server for virtualization or running dozens of Docker containers simultaneously.
For Storage, use one fast NVMe SSD for the operating system to keep the interface snappy. Combine this with multiple high-capacity NAS-grade hard drives in a RAID or ZFS pool to protect against drive failure.
For the Case and Power Supply, pick a multi-bay quiet chassis and an 80Plus Gold certified PSU. Since a home server runs 24/7, a highly efficient power supply saves money on electricity, and a multi-bay case allows for future storage expansion.
3. Choosing the Right Operating System
Software dictates how you interact with your hardware. When building a server at home, you generally choose between three main ecosystems:
The first option is a Dedicated NAS OS, such as TrueNAS Scale or Unraid. These offer brilliant web-based user interfaces. They make managing storage arrays, setting up user permissions, and deploying apps via Docker incredibly easy for beginners.
The second option is a Hypervisor, like Proxmox VE. This is perfect if you want to build a home server for virtualization. Proxmox lets you partition your hardware completely, running a storage server, a Linux development sandbox, and a home automation platform completely independent of one another.
The third option is Bare-Metal Linux, such as Ubuntu Server or Debian. This is a lightweight, command-line-only approach. It consumes the fewest system resources and is ideal if you are comfortable managing your apps via SSH and Docker Compose.
4. The Ultimate Challenge: Safe and Seamless Remote Access
Once you figure out how to build a server at home and have your services running locally, you will face a major roadblock: How do you access your files when you leave the house?
Most residential internet service providers do not give you a static public IP address; instead, your home network sits behind a carrier-grade NAT. Furthermore, opening ports on your router to the open internet is a massive security risk. Within minutes of exposing a port, automated bots and hackers worldwide will scan and attempt to brute-force your server, putting your private data in severe jeopardy.
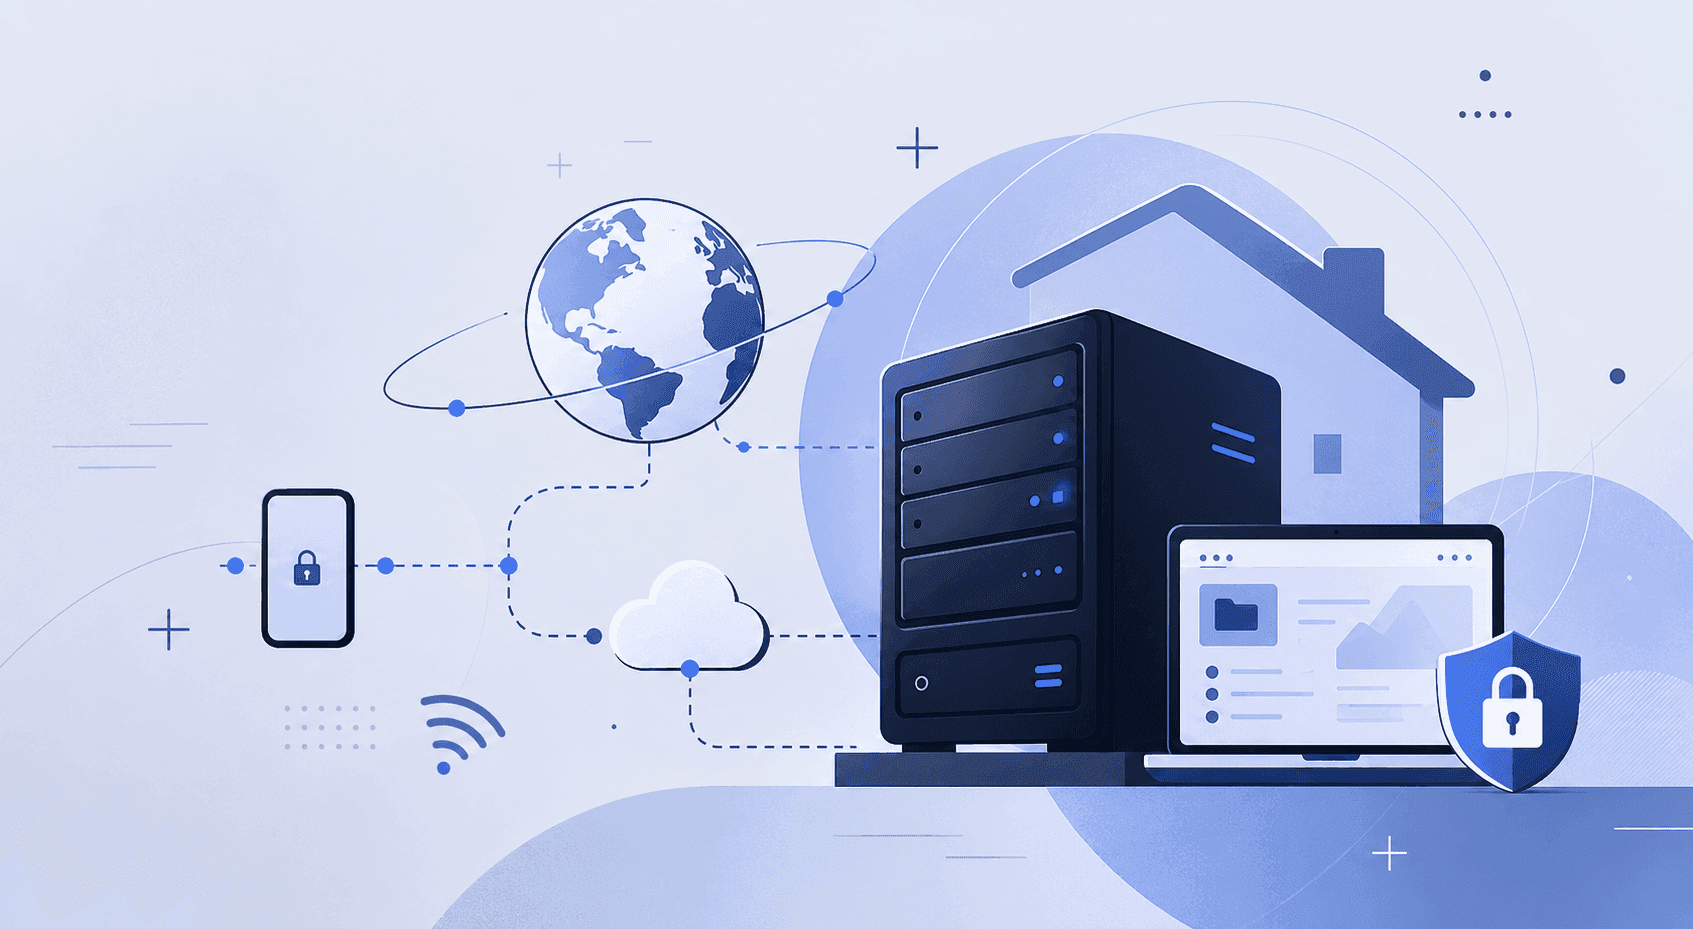
To achieve absolute security without sacrificing convenience, you should never expose your server directly to the internet. Instead, the industry best practice is to build an encrypted network tunnel using a virtual private network. This is where platobox comes in.
By configuring platobox on your home server and your remote devices, such as your smartphone or laptop, you can instantly establish a bulletproof, military-grade encrypted connection back to your house. Whether you are using public Wi-Fi at a coffee shop or traveling abroad on mobile data, turning on platobox places your device virtually inside your home network.
With platobox, you don’t have to deal with risky router configurations or complex firewall rules. You can securely browse your private cloud, access your administration panels, or stream media from your newly built server as if you were sitting right on your living room couch. platobox hides your server from public visibility entirely, eliminating the threat of cyberattacks and giving you ultimate peace of mind.
5. Summary and Getting Started Checklist
Learning how to build a home server is more than just a great way to upgrade your digital life—it is an incredibly rewarding technical journey that hands control of your personal data back to you.
Here is your quick roadmap to get started today:
First, inventory your old tech or buy budget-friendly parts to build a cheap home server.
Second, flash your chosen OS installer onto a USB drive using a tool like Ventoy.
Third, install the OS, plug your server into your router via Ethernet, and set up your initial storage pools.
Fourth, deploy your core applications like Samba shares, Plex, and Docker.
Fifth, install platobox to enable seamless, completely secure remote management from anywhere in the world.
Stop renting space from giant corporations. Gather your hardware, secure your connection with platobox, and start building your own private digital sanctuary today!